
Running Course Designer 4
on Chrome OS
You will be installing two new executables on your Chromebook
(1) The PlayOnLinux emulator that will let you run Windows applications on your Chromebook.
(2) The Windows version of Course Designer 4
You will also be turning on a feature of the Chrome OS that will allow you to run Linux (and
Windows) programs on your Chromebook. Total installation time is approximately 10
minutes.
PlayOnLinux System Requirements
The PlayOnLinux software executes in what is called a “Linux Container’ on the Chrome OS.
Although most modern Chromebooks will be able to support Linux containers, you will need to
verify that your particular Chromebook hardware has:
1. an Intel processor: CrossOver will not run on ARM processors (so your processor must
be an Intel or AMD CPU).
2. Virtualization support: This is not present in older CPUs, but is required for the container
employed by the Linux development environment (also called the Linux Beta in versions
of Chromium prior to version 91).
It is easy to check if your Chromebook has these requirements: Go into Settings and look under
the Advanced option. If you see the options “Linux Beta” or “Linux Developer”, you should be
able to install and run PlayOnLinux on your Chromebook. [Side note: if you are looking at
staged Chromebooks in a store, these Chromebooks will almost always be running in Demo
mode and that hides the Advanced option. In that case, you need to verify that the
Chromebook is Intel/AMD-based and capable of running version 91 or higher.]
Google recommends allocating at least 7.5 Gb for your Linux environment so your
Chromebook’s disk capacity will need to be large enough to allow for this. Also you should
upgrade your Chromebook to the latest version it can support in order to have the best

experience.
Pre-Installation
Go into Settings and look under the Advanced option and then “Developers”. Depending on
your version of the Chrome OS, you will see either Linux Beta or Linux development
environment. Enable this option.
Installing
Open up the Chrome browser and go to the following URL:
https://www.codeweavers.com/compatibility/crossover/course-designer-2000
Click on DOWNLOAD TRIAL to install the CodeWeavers CrossOver application. This software is
free to use for TWO WEEKS.
Note: This is a full feature version of CrossOver, so you can install other Windows
applications you would like to use as well. The license to use CrossOver is
perpetual, but active support and upgrades are valid for one year.
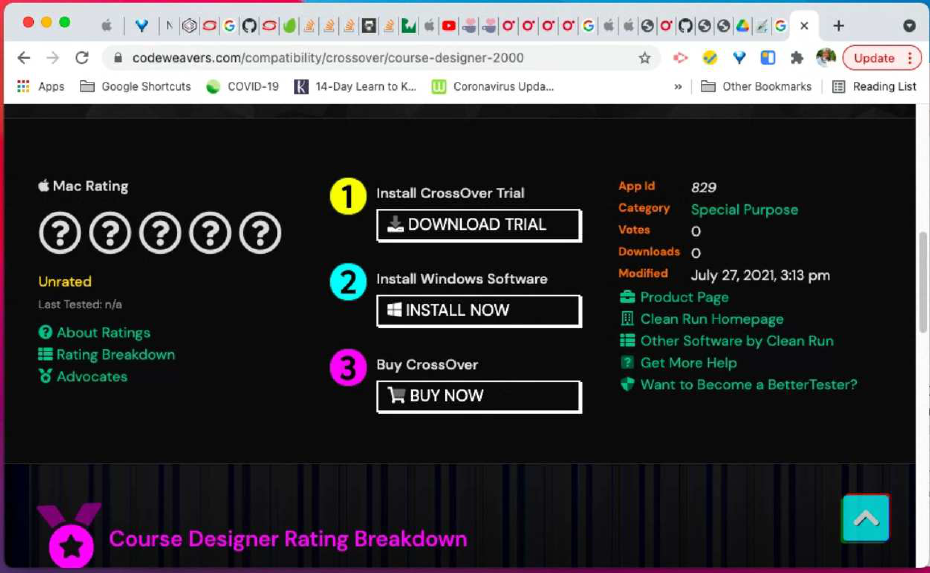
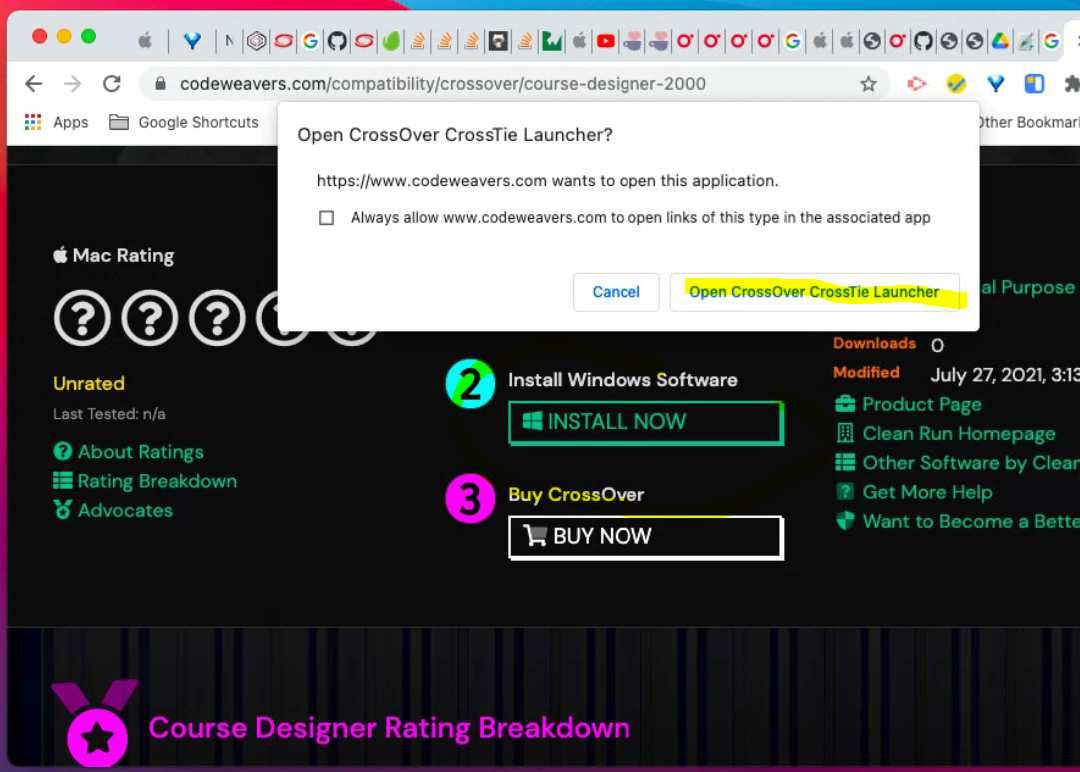
Now, click on INSTALL NOW to install the Course Designer 4 application. On the resulting
dialog, click on the “Open CrossOver CrossTie Launcher” button.

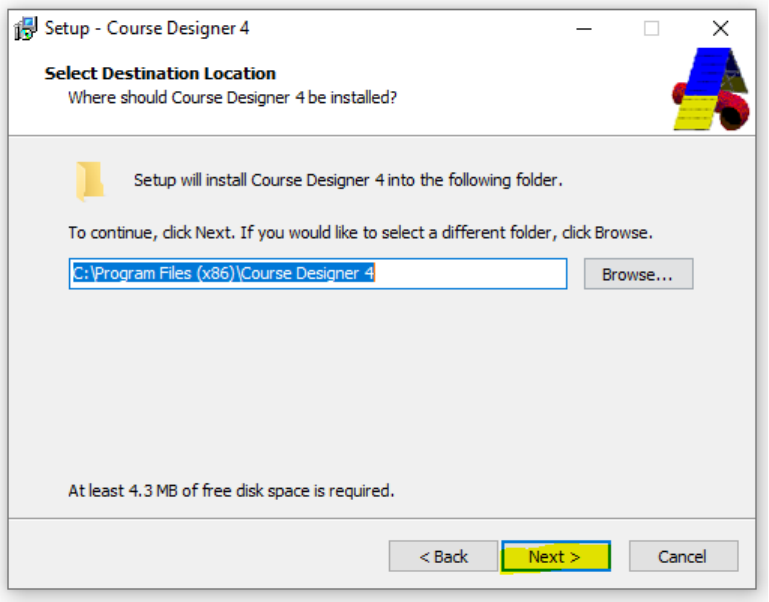
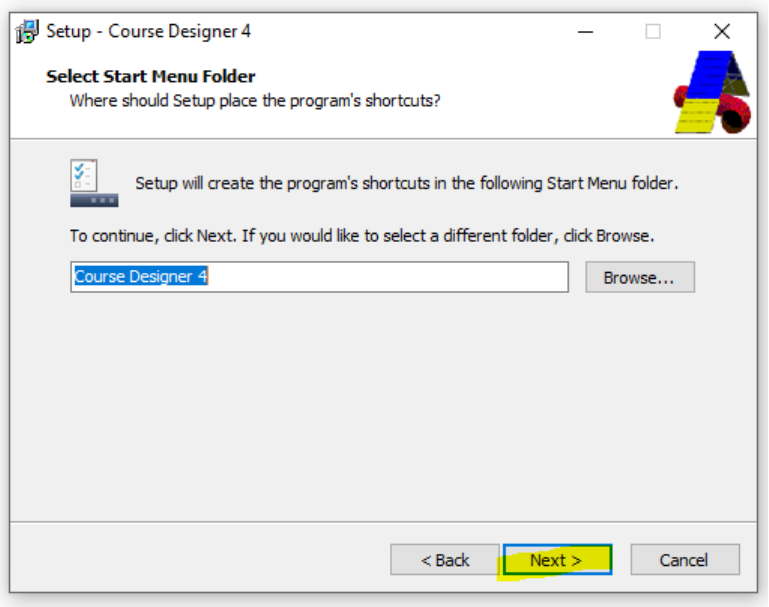
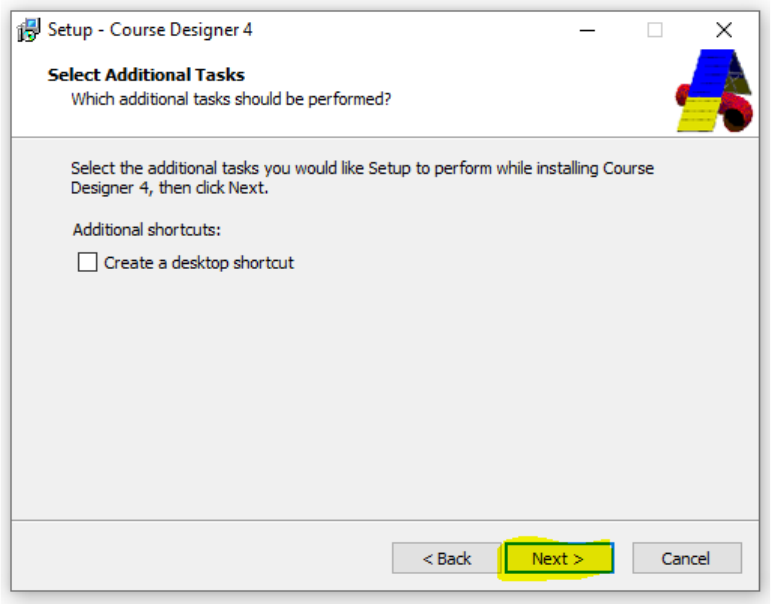
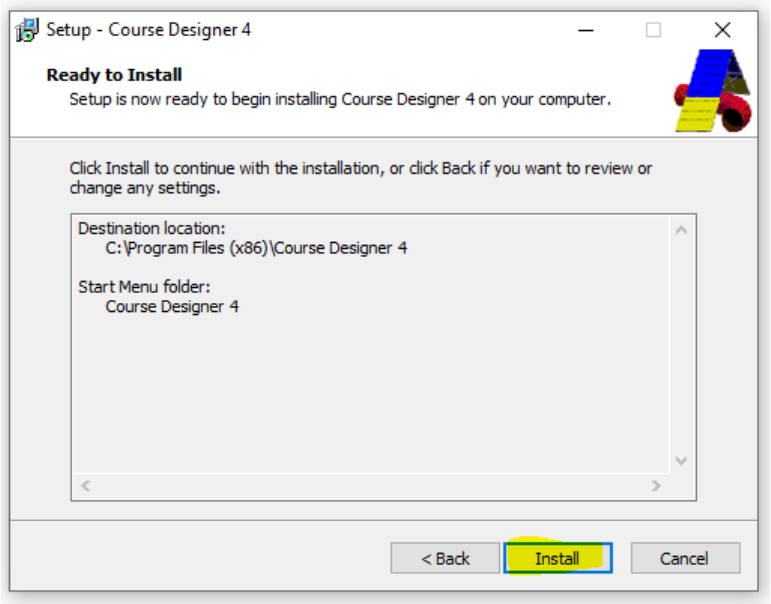
After the Course Designer 4 software has completed
downloading, you should see the following dialog. Click on
INSTALL so that CrossOver can begin the installation
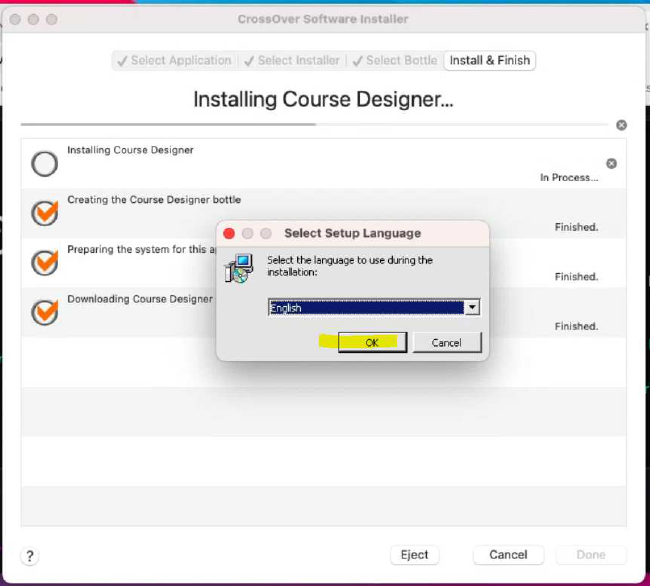
CrossOver will execute the standard Windows installation
procedure for Course Designer 4. You should select the
default options on all of these installation dialogs.
Notes:
(a) If you have any problems installing CrossOver, see the
Chrome OS Knowledge Base for this product at
https://www.codeweavers.com/support/wiki/chromeos
(b) By default, CrossOver will download and install the English
version of Course Designer 4. Since the Windows version of
CrossOver supports many other language, then if you prefer,
you can visit https://www.coursedesigner.com/download and
select a different language version of CD4 to download.
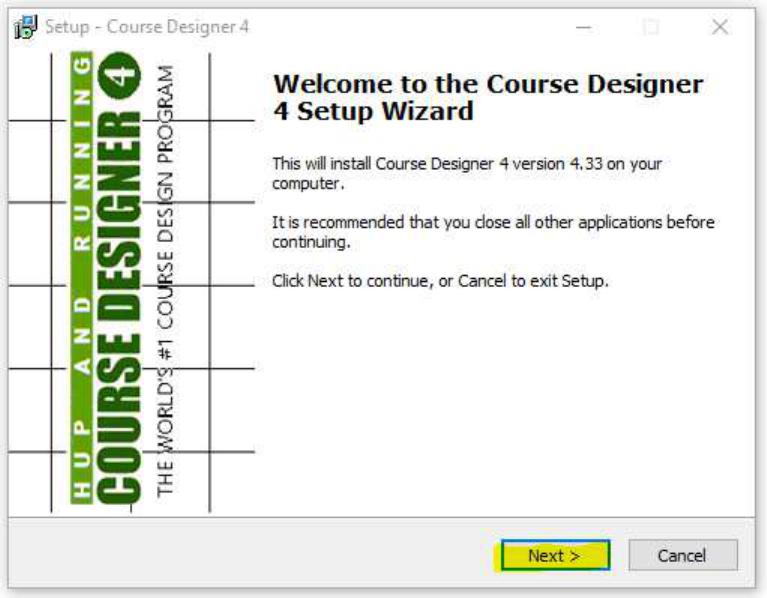
The next few screenshots show the dialogs for the installation procedure with their
default actions.
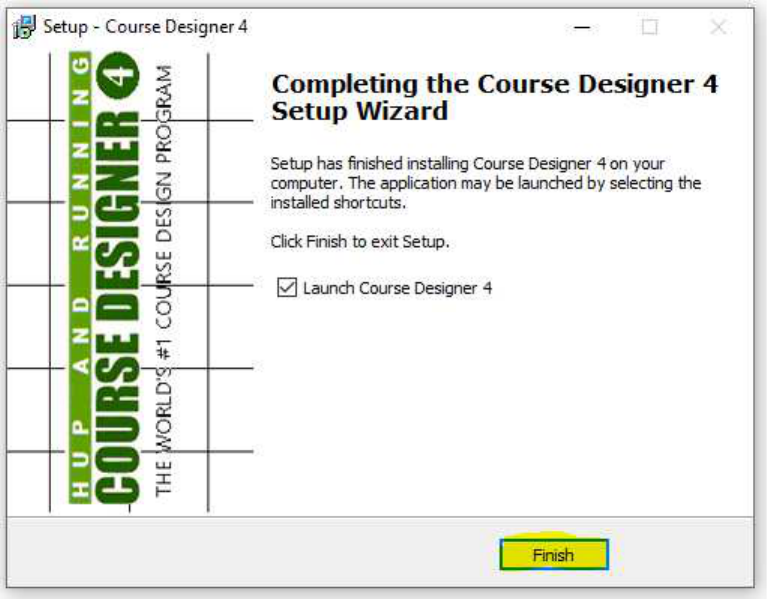
Installation is now complete and Course Designer 4 should be running on your Chromebook. Since this is a new installation, you
will see a notice that you are in the 30 day free trial period. If you have a previously registered copy of the Course Designer
software for a different platform (Windows or Mac OS), you need to transfer your license to the Windows version as that is what
you are running under CrossOver. Visit this page to transfer your license: https://www.coursedesigner.com/needkey
All features of Course Designer 4 are now available and are accessed using the Windows style File/Edit/View etc. menu options.
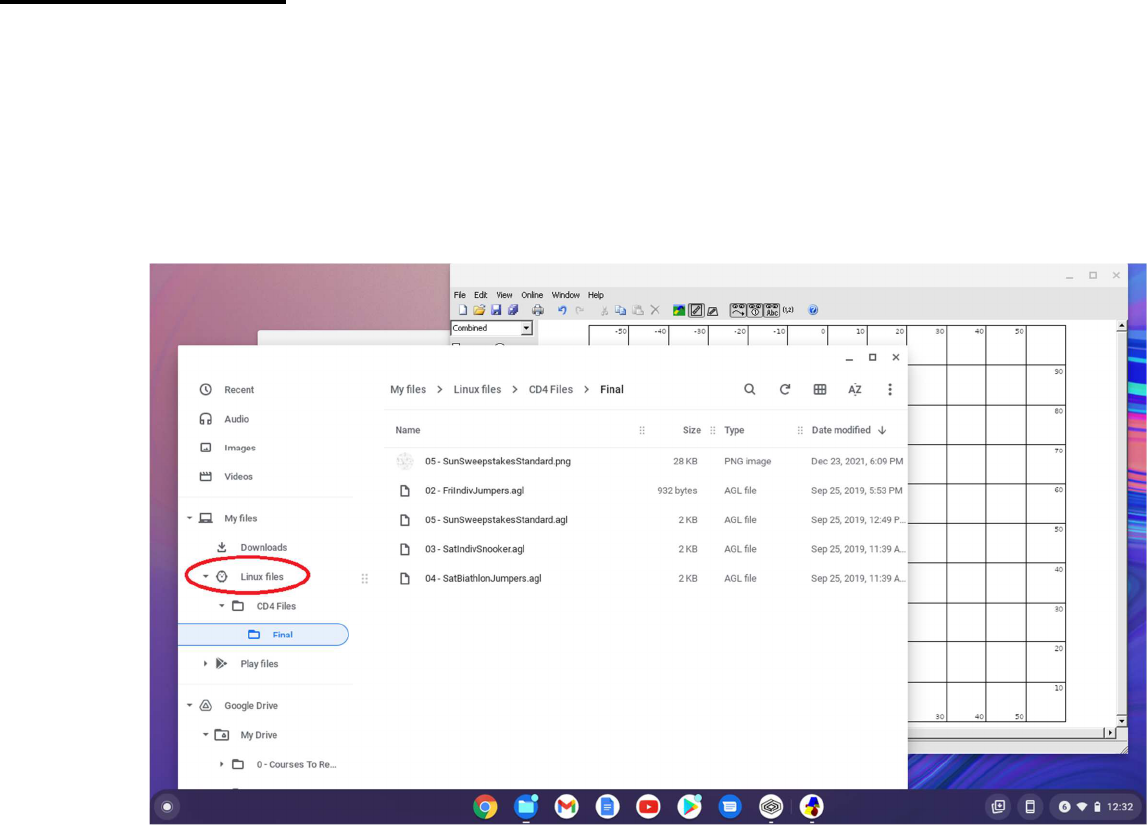
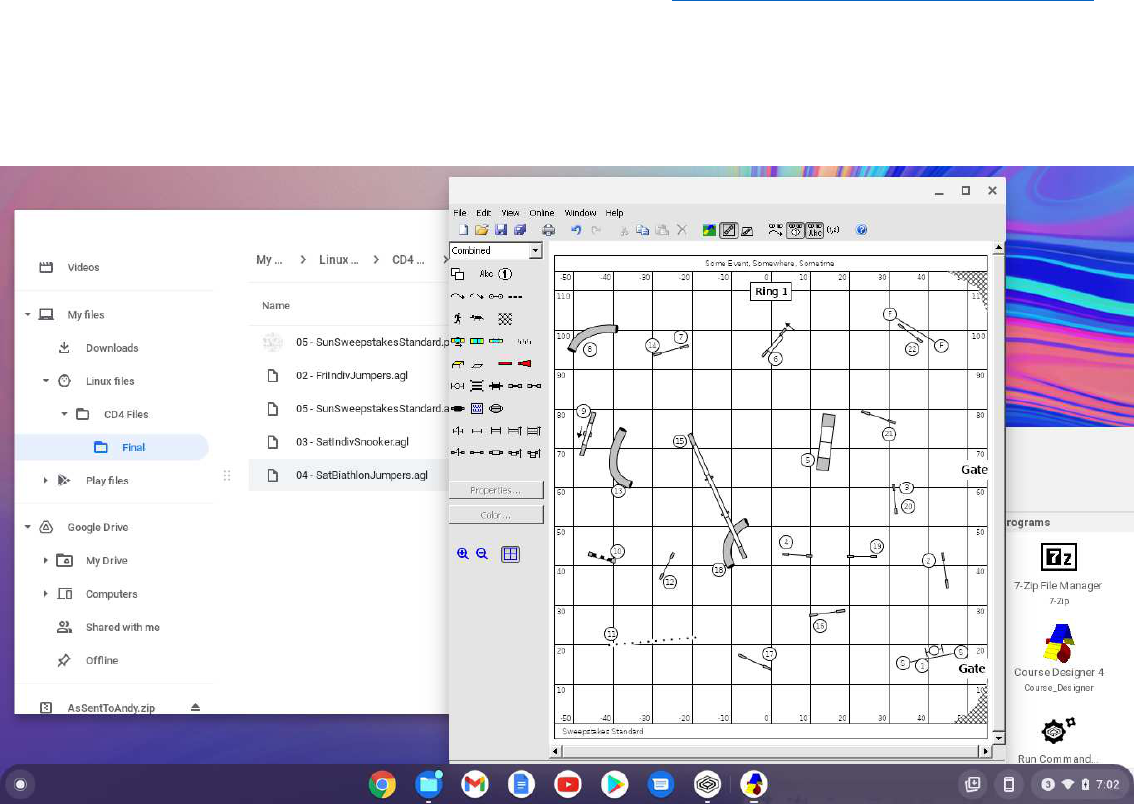
Accessing Files
CrossOver (using a technology known as WINE) is able to run a Windows executable such as Course Designer and other programs by
creating an environment known as a ‘bottle’ for that program to run in.
A program run in this manner is ‘bottled’ off from the rest of your Chromebook and will not be able to directly access most of the
folders on the system. However, when you call up the File app, you will see a folder under “My files” named “Linux files”.
Programs running under CrossOver such as Course Designer can access any files and subfolders in this folder.
So you could for example, drag a folder (for single file) from your Google Drive (or USB drive) to the Linux files folder, modify your
course files, and when done, drag that folder (or single file) back to the Google Drive.
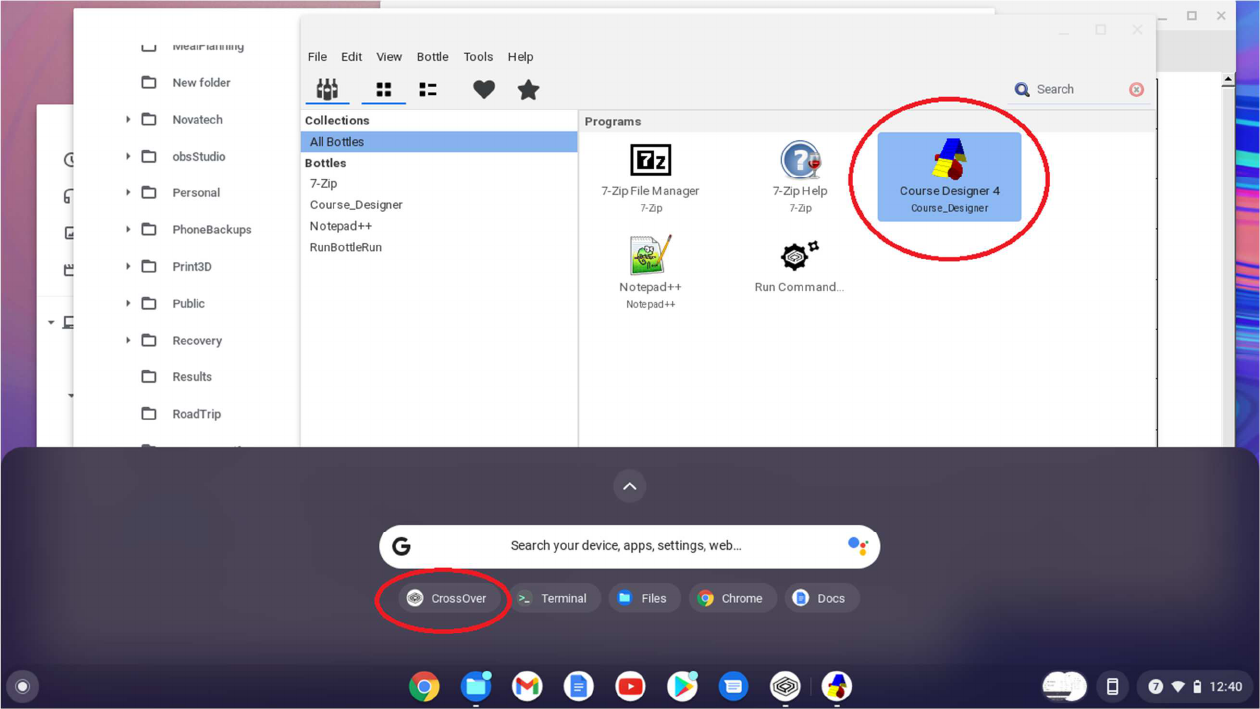
Whenever you want to run Course Designer 4 again, start the CrossOver app, and select Course Designer 4 from there.
If you have run Course Designer on other platforms, you know that the name of the course you are working on is displayed in the
title bar of the window you are working in. Recent versions of the Chrome OS however have dropped support for the title bar in all
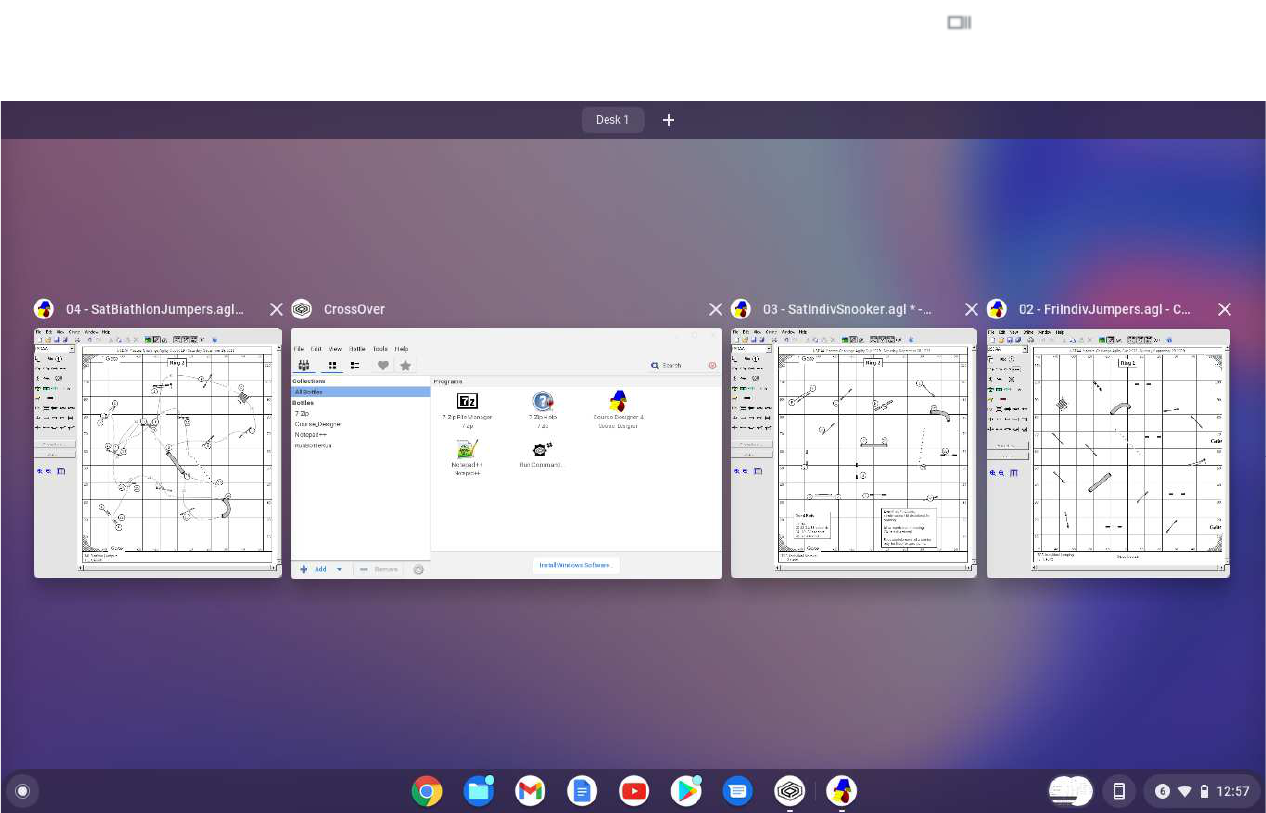
apps. If you have multiple files open, you will need to use the special Chromebook display key to view all your open
displays by name.
Printing
If you would like to ‘print’ to PDF files, you will need to install a PDF printer into the Linux container to that it is available to
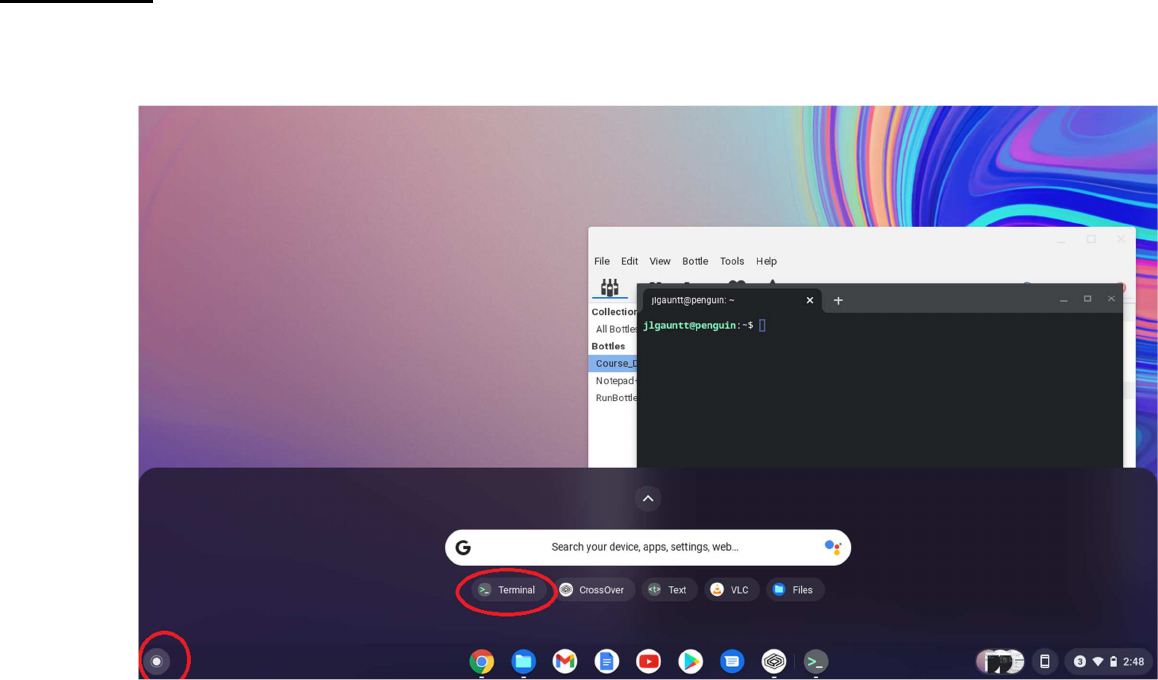
applications running in a CrossOver bottle. You only need to do this once. To do, open up a linux terminal session:
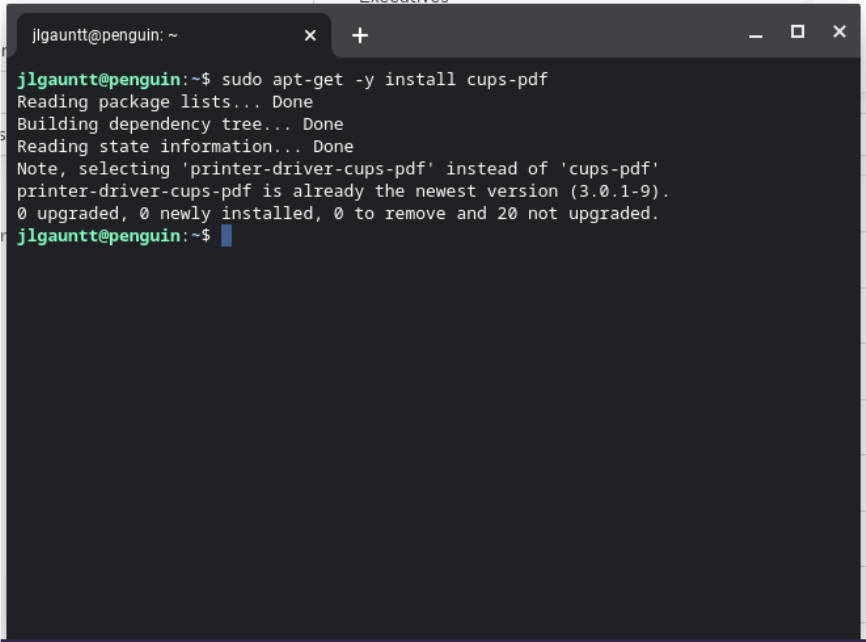
In the linux terminal session, type the command sudo apt-get -y install cups-pdf. Note that it may actually decide to install the
newer printer-driver-cups.pdf package instead and that’s ok.
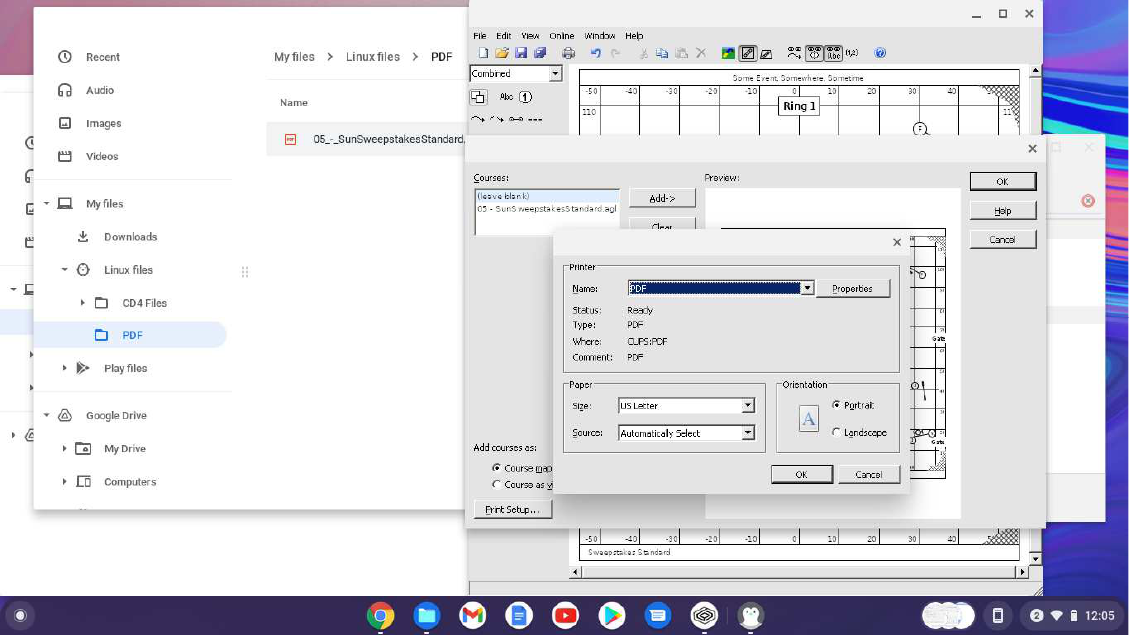
Now when you print a course, you will have the option of selecting the PDF ‘printer’. Note that all PDF printer output will be
directed to the dedicated folder My files\Linux files\PDF
An alternate method is to use Course Designer’s File/Save As command to save a file to a format such as a .png or .jpg file. Then
use the Files app in the Chrome OS environment to select and print that file directly to a printer or to a .pdf file.
Installing a new version of Course Designer
Remember that Course Designer is running within a CrossOver bottle environment. You can install additional or replacement
windows executables to the Course Designer bottle you have created.
Open the CrossOver application and select the Course Designer bottle. Do not run Course Designer 4 at this time; if already
running, you will need to close it so it can be replaced.
Open a browser, go to http://www.coursedesigner.com/download, and download the latest Windows version of Course Designer 4.
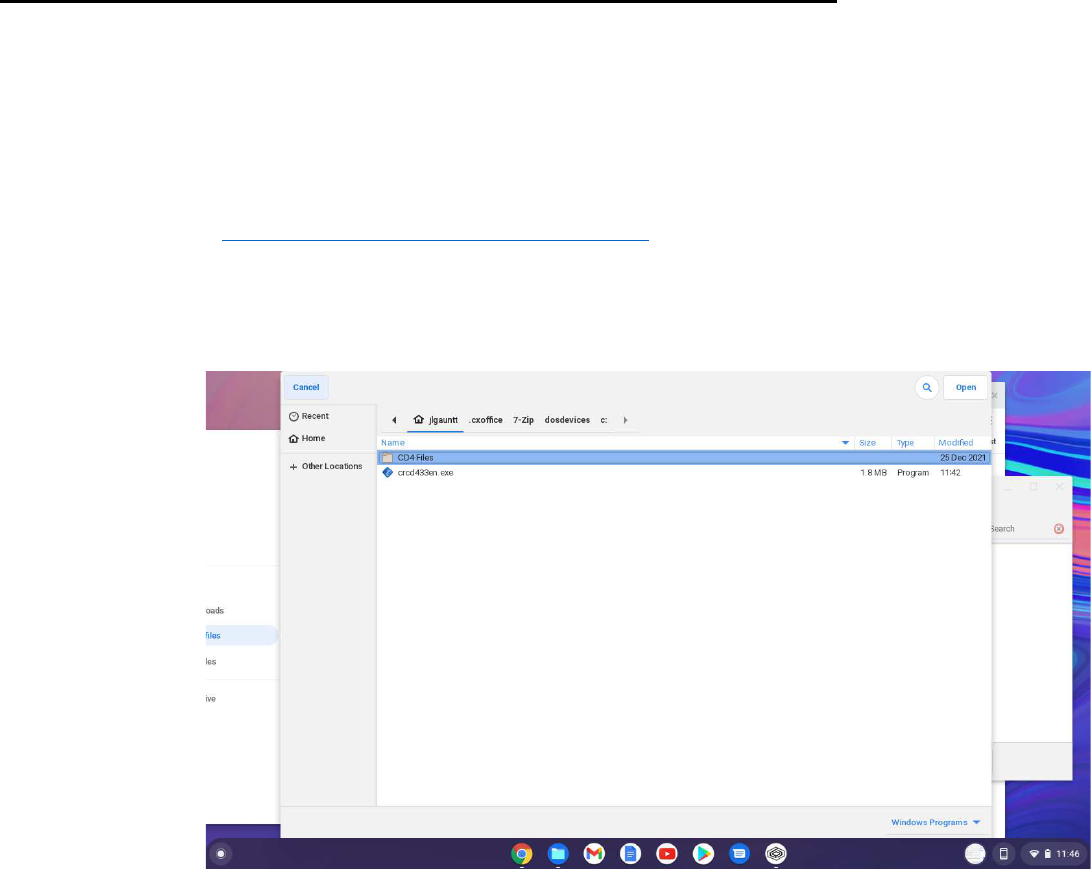
Move the downloaded .exe file to a folder that is visible to applications running under CrossOver. In the example shown below,
the executable crcd433en.exe has been moved to the folder Linux.
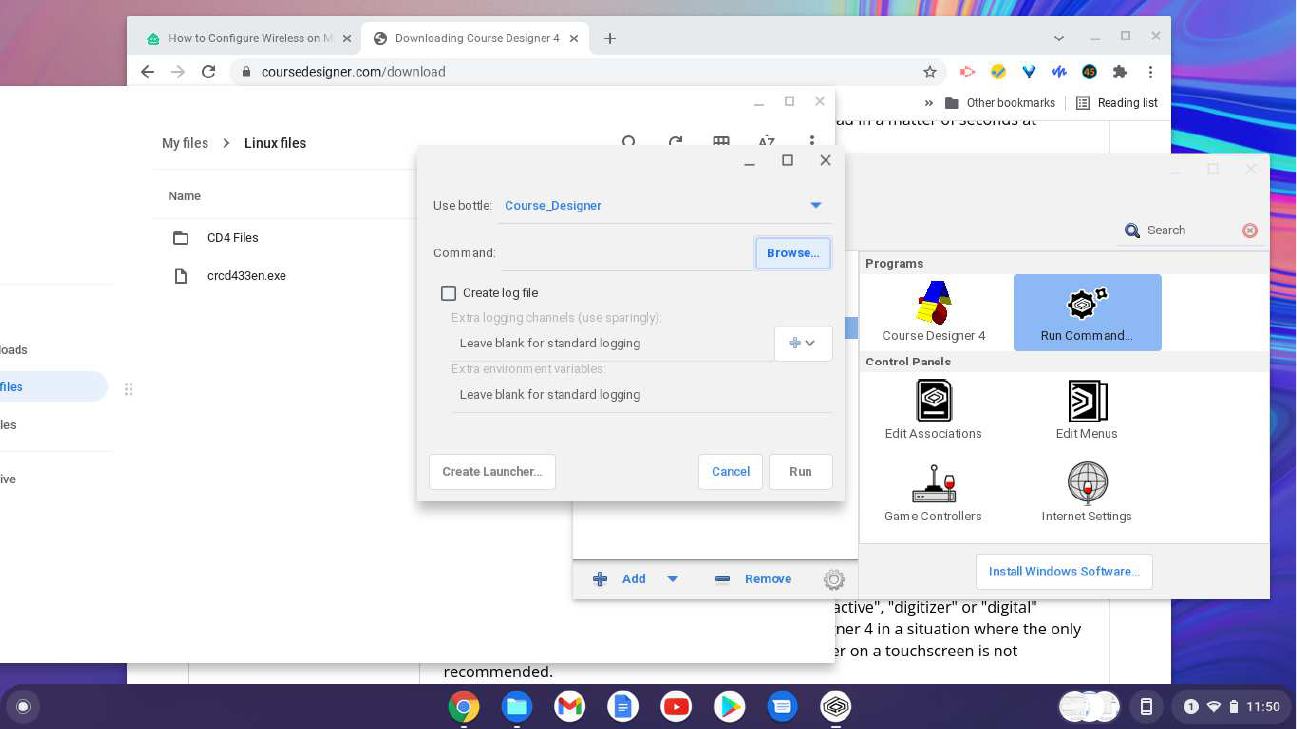
Return to CrossOver, select the Course Designer bottle and in that bottle, open the “Run Command…” application. In the resulting
dialog, make sure you use bottle Course Designer and then use the Browse… button to navigate to and select the new Course
Designer installation file. When that is done, click on the Run command to install the new version.
